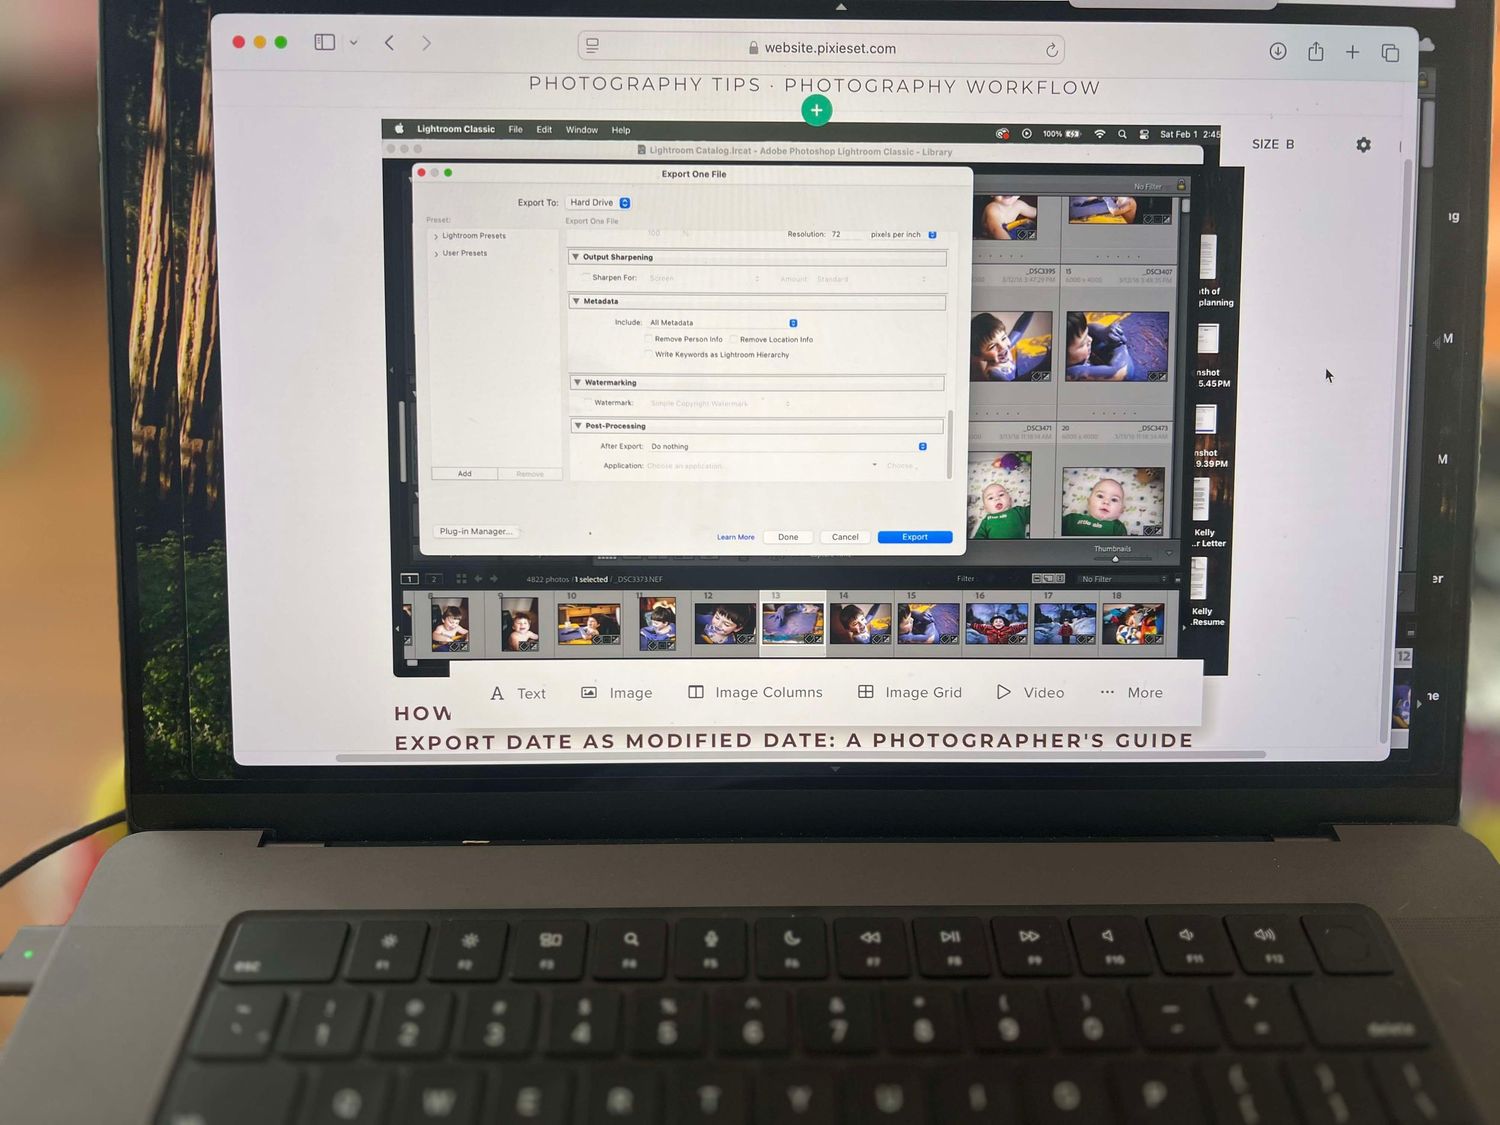
HOW TO KEEP YOUR CAPTURE DATE AS CREATION DATE AND EXPORT DATE AS MODIFIED DATE: A PHOTOGRAPHER'S GUIDE
I'm writing this post to hopefully help some folks out there from pulling their hair out as they try to figure out how to keep their capture dates with their jpgs.
As photographers, we know how important it is to keep our files organized and properly dated. Whether you’re a hobbyist, passionate about documenting your family life or running a business, knowing exactly when a photo was taken is crucial. But, let’s be honest—macOS has a way of messing with those creation dates when you export your photos from Lightroom, right? 😅
You export a photo, and suddenly the creation date is the export date, not the capture date. You can almost hear your camera chuckling in the background as you wonder, “Where did my metadata go?”
Well, I’ve got good news for you! You don’t have to settle for this digital madness. There’s a way to preserve the capture date as the creation date, while still keeping the export date as the modified date. Yep, you can have the best of both worlds—no more metadata confusion!
In this post, I’m going to walk you through how to do this using ExifTool (don’t worry, it’s not as scary as it sounds), and I’ll show you how to keep your workflow neat, organized, and efficient.This is seriously easy. STEP by STEP. Just take your time, follow the steps and thank me later.
WHAT’S THE DEAL WITH CREATION AND MODIFIED DATES ANYWAY?
Before we dive in, let’s take a quick detour to talk about creation date and modified date. When you export photos from Lightroom, macOS automatically updates the creation date to match the export date, and it can mess with your organizational flow, especially if you need the capture date (the day you took the photo) to be the creation date.
The modified date should reflect when the file was last modified, i.e., when you exported it, but often, it ends up as the capture date, which, again, is not ideal if you're trying to keep everything neat and consistent.
Enter ExifTool: Your New Best Friend (For Metadata, Anyway)
ExifTool is a powerful tool for editing EXIF data (the metadata) of your photos, and it can do a lot of amazing things. Lucky for you, today we’ll be using it to simply update the creation date (the DateTimeOriginal metadata) to match the capture date—without touching the modified date.
Don’t worry, it's gonna be easy!
But before we can run any commands, you’ll need to install Homebrew (a package manager for macOS) and ExifTool. If you’re thinking, “Wait, that sounds a bit complicated,” trust me, it’s not! Here’s the breakdown.
STEP 1: INSTALL HOMEBREW (YOUR PACKAGE MANAGER BESTIE)
First things first, we need to install Homebrew. Homebrew is a package manager that helps you install software on your Mac with just a few commands. It’s an essential tool if you want to streamline installing and managing software like ExifTool.
- Open Terminal (Command + Space and type "Terminal").
- Paste the following command into Terminal (this is the official installation command from Homebrew’s website):
/bin/bash -c "$(curl -fsSL https://raw.githubusercontent.com/Homebrew/install/HEAD/install.sh)"
- Press Enter, and follow the on-screen instructions to complete the installation.
- Once it’s installed, you can test it by pasting the following:
brew --version
- If everything is working, it’ll show the version number of Homebrew.
STEP 2: INSTALL EXIFTOOL USING HOMEBREW
Now that you’ve got Homebrew installed, it’s time to install ExifTool.
- In Terminal, paste the following command to install ExifTool:
brew install exiftool
2. Hit Enter, and Homebrew will handle the installation. Once it’s done, ExifTool is ready to go!
Step 3: Lightroom Workflow: Export Your Photos from Lightroom
With ExifTool installed and ready to go, it’s time to export your photos from Lightroom. Follow these steps:
- Export your photos as you normally would in Lightroom. Make sure you include all metadata during the export process, so the DateTimeOriginal (capture date) is embedded in the file.
- Once the photos are exported, you’re ready for the next step!
Step 4: Open Terminal and Navigate to Your Exported Photos
Now, let’s tell ExifTool where your photos are.
- In Finder, navigate to the folder containing your exported JPGs.
- Open Terminal and type cd and add one space after it, but don't hit enter yet!
- Then drag the folder with your exported photos into the Terminal window. Hit Enter.
- This will set Terminal to the folder where your photos are.
Step 5: Run ExifTool to Keep Your Capture Date as Creation Date
Here’s the magic!
- In Terminal, paste the following command to set the FileCreateDate to the DateTimeOriginal(capture date), while leaving the FileModifyDate (export date) unchanged:
exiftool "-FileCreateDate<DateTimeOriginal" -P -overwrite_original *.jpg
- -FileCreateDate<DateTimeOriginal: This sets the File Creation Date to the capture date.
- -P: Preserves file permissions.
- -overwrite_original: Overwrites the original files with the updated metadata (don’t worry, no backup copies will be made).
- *.jpg: This applies the command to all JPG files in the folder.
- POTATO.
I threw this potato in here in case you're anything like me and zoning out cause this is boooooring, but it must be done! You're almost done! Keep going!
Once the command runs, your photos’ FileCreateDate will reflect the capture date, and the FileModifyDate will stay as the export date.
Step 6: Verify the Changes
Let’s make sure everything went as planned.
- In Terminal, copy and paste:
exiftool -FileCreateDate -FileModifyDate *.jpg
You should see the FileCreateDate now matches the capture date and the FileModifyDate still shows the export date. Woohoo!!!
STEP 7: ENJOY THE RESULTS!
Go ahead and open your photos in Finder. Right-click on a file, select Get Info, and voilà! You should now see the Created Date set to the capture date, and the Modified Date set to the export date. 🎉
WHY THIS MATTERS FOR PHOTOGRAPHERS
Let’s be real—getting your metadata sorted is no small task. If you're like me, you probably have hundreds (or thousands) of images scattered across different drives, folders, and clients. Keeping track of when a photo was taken (and when it was exported) is a must, whether you're archiving your work, handing off files to clients, or just trying to keep your workflow organized.
With this little tweak, you’ll never have to worry about your photos’ dates being all over the place again. It’s simple, it’s effective, and most importantly, it saves you time in the long run.

FINAL THOUGHTS
So there you have it—now you can preserve the capture date as the creation date and keep the export date as the modified date. Pretty awesome, right? I hope you found this helpful!
